Install froxlor from Tarball
0. Prerequisites
For a manual installation, you need to have a recent webserver (apache2 or nginx) with PHP and MySQL/MariaDB-server running.
You should also have at least one (sub-)domain available to use as froxlor's main system hostname (FQDN). This (sub-)domain cannot be used for customers or hosting websites/e-mails. In case you want to use e.g. mydomain.tld yourself for your website and email accounts etc. you can just use a subdomain like froxlor.mydomain.tld in the installation process. This way, mydomain.tld can be added as a domain for a customer.
1. Download and extract the tarball
Stable build
# change directory
cd /var/www/html/

# download latest froxlor version
wget https://files.froxlor.org/releases/froxlor-latest.tar.gz

# the content should go in to the folder /var/www/html/froxlor
# note: the archive contains the folder 'froxlor' already!
tar xvfz froxlor-latest.tar.gz

# remove archive
rm froxlor-latest.tar.gz
Nightly build
ATTENTION
Nightly builds are current snapshots of the Git repository including dependencies, please only use this if you know what is happening and use it only for testing purposes as new features may not be tested.
2. Set Permissions
In order for the webserver to be able to server the files, the owner must be set correctly. Note: If you're using FCGID/PHP-FPM for the froxlor-Vhost, you have to replace the webserver-user with your local froxlor-user.
chown -R [webserver-user]:[webserver-user] /var/www/html/froxlor/
(the 'webserver-user' on most systems is 'www-data' or 'apache')
3. Create privileged database user
Log in to MySQL to create a new privileged user (e.g. froxroot) which is required for froxlor to add/delete customer mysql users and databases. You need to specify this user as the Privileged database user in the web-installer.
mysql -u root
To create the user, execute the following commands:
ATTENTION
Please change the default password (CHANGEM3) in the first line!
CREATE USER 'froxroot'@'localhost' IDENTIFIED BY 'CHANGEM3';
GRANT ALL PRIVILEGES ON *.* TO 'froxroot'@'localhost' WITH GRANT OPTION;
FLUSH PRIVILEGES;
EXIT;
The Unprivileged database user must not exist as it will be created by the installer for you. The default username is froxlor but of course you can use any valid username you like.
4. Installation via Web-Installer
NOTE
On some distributions, the default web-root directory differs from /var/www/html/. To access froxlor, you need to adjust the default virtual-host to set /var/www/html/ as document-root.
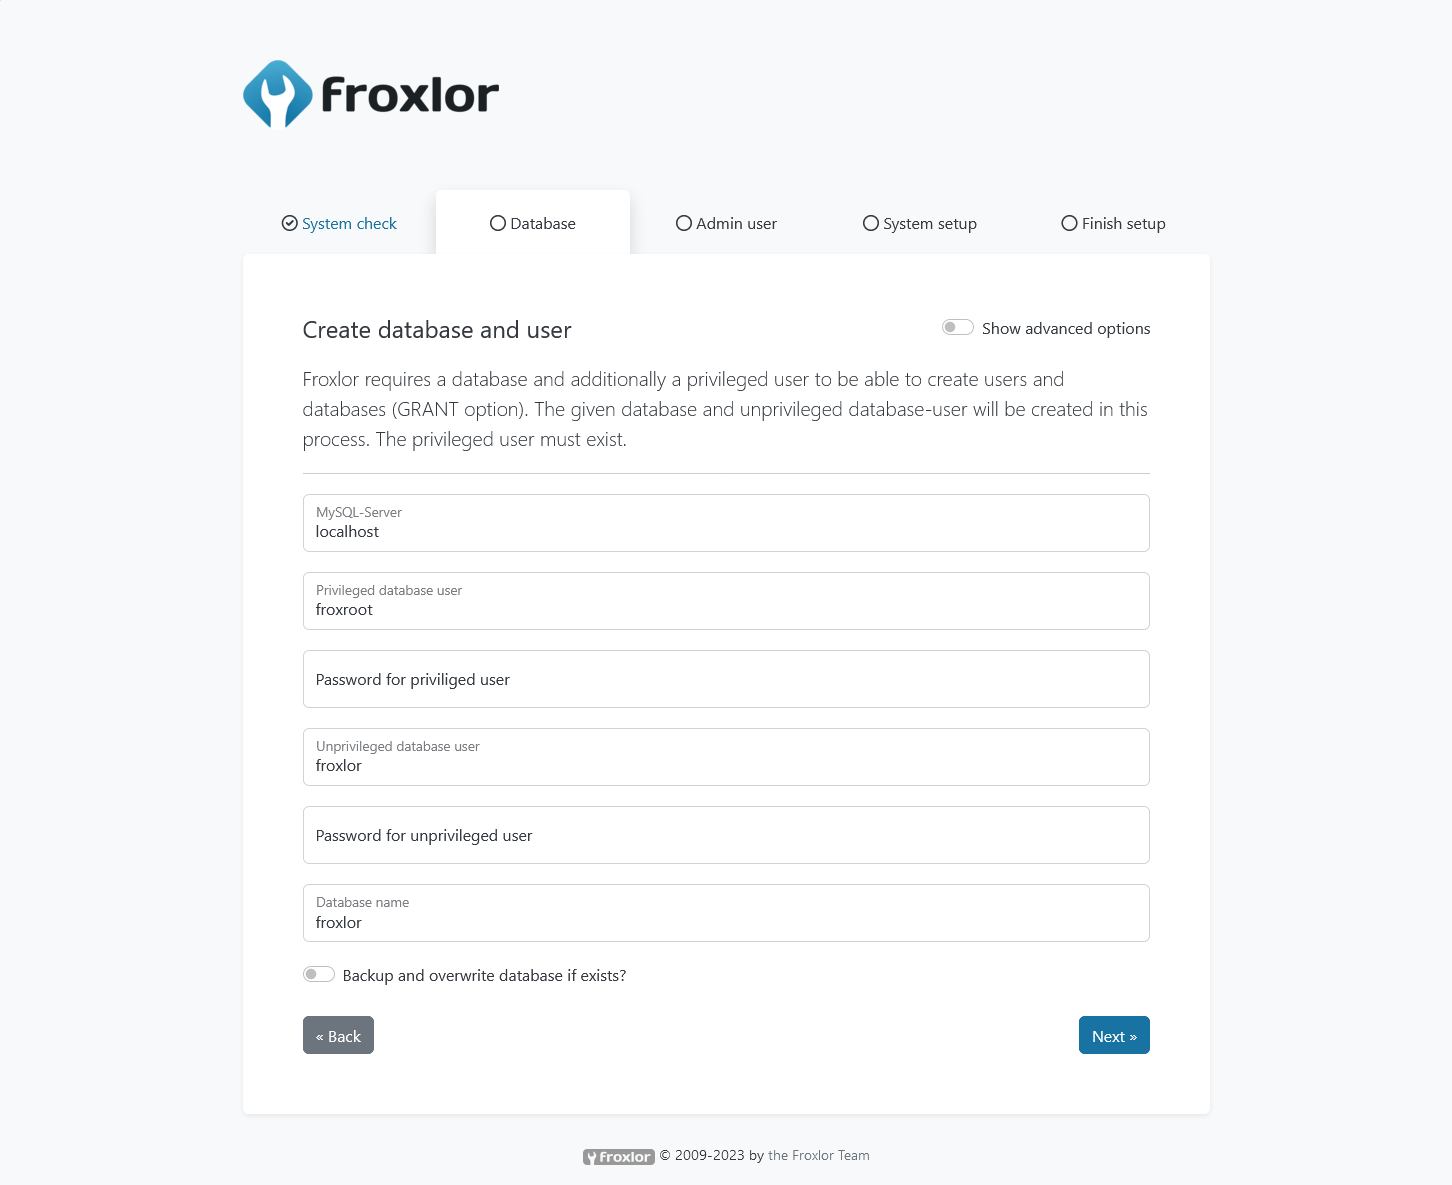
Now that you have extracted all the files you are ready to (re)start the webserver. You should now be able to access froxlor via http://{your-ip-address}/froxlor Just follow the installation-process and froxlor will be installed in no time.

The unprivileged MySQL user does not need to exist, it will be created using the provided root-privileged user by the installation process.
5. Configuration of services
→ See Configuration guide.
6. Need help?
If you run into any problems or have difficulties understanding / setting-up / whatever - don't hesitate to contact us either via e-mail (team@froxlor.org) or the preferred way: on Discord (https://discord.froxlor.org) and our forums (https://forum.froxlor.org/)