API Guide
NOTE
The API interface is disabled by default. If you wish to use it or allow your customers to access data using the API, you need to enable it in Settings -> System settings -> Enable external API usage.
1. Introduction
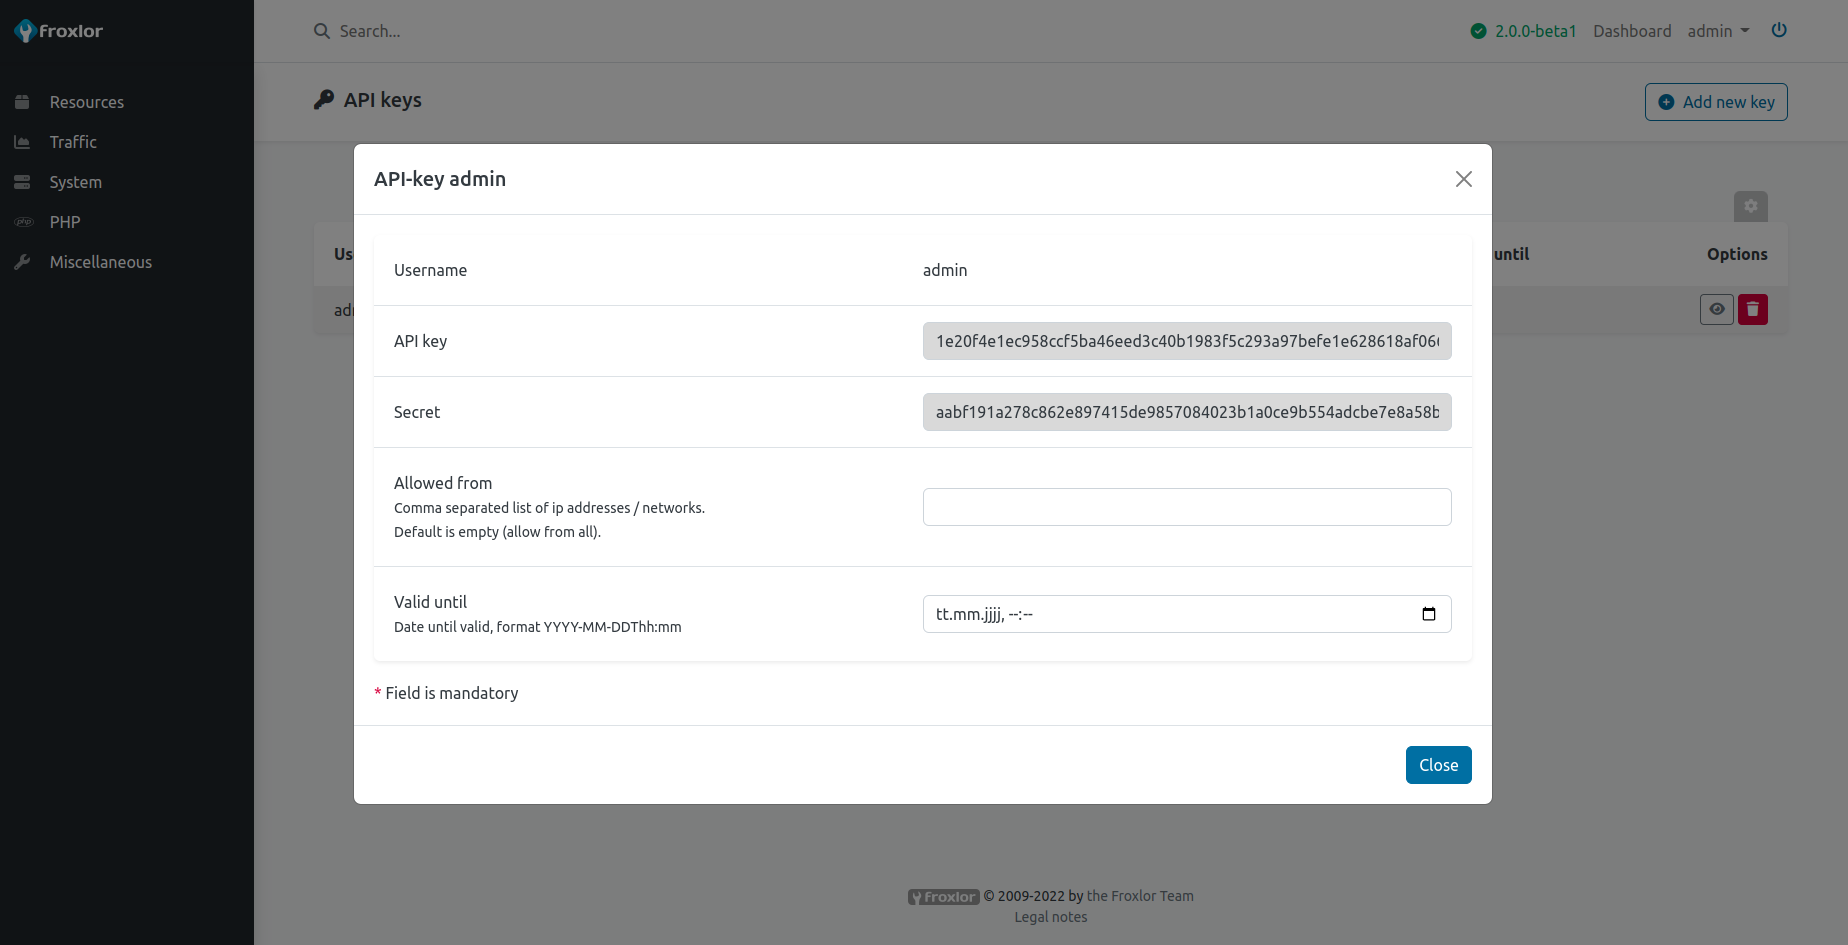
Froxlor provides an API interface to access various functions like adding customers, domains, e-mails, etc. In order to use the API the user (admin, reseller or customer) needs to create an API-key / secret pair from within the froxlor interface. If enabled, you can find that in the top-right corner dropdown menu username and select API keys.
Click on Add new key and a new key/secret pair will be genereated. You can add as many as you like. A click on a specific row reveals the full key and secret.

You can also specify IP-addresses to require a specific origin and a date if you want to limit the key/secret pair usage for a time-period.
The API endpoint is https://your-hostname.tld/api.php. As froxlor's API is not a RESTful API, all commands are called via HTTP POST with the application/json content-type.
NOTE
If you are using php-fpm with apache2, in order for the API authentication to work properly, you need to enable Add "-pass-header Authorization" / "CGIPassAuth On" to vhosts in the PHP-configuration assigned to froxlor.
2. Request structure/layout
A request to the API endpoint has the following structure:
[
	'command' => 'Command',
	'params => [
		// optional parameters to the given command
	]
]
3. Send a request via cURL
To test the setup, we can call the Froxlor.listFunctions API command which will show us the available API methods using curl.
3.1 Verbose output
When testing, it’s a good idea to set the verbose mode on to provide helpful information, like headers. For this, use the -v parameter for the curl command.
curl -v ...
3.2 Listing functions
Now let's JSON-encode our PHP request-array for listing available functions:
php -r "echo json_encode(['body'=>['command'=>'Froxlor.listFunctions']]);"
The output should look like this:
{
    "command": "Froxlor.listFunctions"
}
This string is now being passed with the -d parameter in curl to the given API endpoint (assuming your key and secret are stored in the environment variables FROXLOR_API_KEY and FROXLOR_API_SECRET respectively:
AUTH=$(echo -ne "$FROXLOR_API_KEY:$FROXLOR_API_SECRET" | base64 --wrap 0)

curl -v \
  --header "Content-Type: application/json" \
  --header "Authorization: Basic $AUTH" \
  --request POST \
  --data  '{"command":"Froxlor.listFunctions"}' \
  https://froxlor.example.com/api.php
Or with setting the command and function in the URL it becomes way shorter and simpler:
AUTH=$(echo -ne "$FROXLOR_API_KEY:$FROXLOR_API_SECRET" | base64 --wrap 0)

curl -v \
  --header "Content-Type: application/json" \
  --header "Authorization: Basic $AUTH" \
  --request POST \
  https://froxlor.example.com/api.php?/Froxlor/listFunctions
The result should then look somewhat like this (removed headers and actual data for readability):
{
  "data": [
    {
      "module": "SomeModule",
      "function": "someFunction",
      "params": [
        ...
      ]
    },
    {
      ...
    }
  ]
}
4. Usage with PHP
In the froxlor repository, we provide an example class / curl-wrapper to work with the API. See https://github.com/Froxlor/Froxlor/tree/main/doc/example
5. Response structure/layout
A response from the API endpoint has the following structure:
{
  "data": {
    ...
  }
}
All status-codes above or equal to 400 can be considered as an error and the data field will be empty/null. The error message can be read from the status_message field.
On success, the data field contains the corresponding result as array. All listing methods will always have a data-structure in the format shown below. The get, add, update and delete methods with return a single entry and do not include count and list indeces.
Listing response:
{
  "data": {
    "count": number-of-entries,
    "list": [
      ...
    ]
  }
}
Single entity response:
{
  "data": {...}
}